Letterpress: How To Adjust ("Planarize") the Platen on a Chandler & Price (C&P) Pilot
September 11, 2008
Last night, I pulled my very first impressions from my recently-restored Chandler & Price (C&P) Pilot. A lot of work has gone into even getting to this point, and one might be surprised that this is the very first time I’ve actually put ink on my press and made an image.
The purpose of last night’s exercise was to balance the platen. The platen is a flat metal surface that holds the paper and, when the press is used, moves towards the type or image and presses the paper into it. The Pilot is a so-called “clamshell” press. That means that for each copy you print, you put a piece of paper on the platen, then pull the handle, and the whole thing closes up like a clamshell as the platen comes towards the type and/or image.

Looking at my press from the side, you can see the platen on the right
I noticed that there is not a lot of information on balancing one’s platen on the Web, so I wanted to write down what I know to add information to the paucity.
How to Balance a Platen on a C&P Pilot
- Lock up a form with type in all four corners. Using a larger point size is ideal. Traditionally, I think a lot of people lock up four capital “M”s, one in each corner. I used some dinged-up 60pt. Cheltenham I had lying around. This lockup is, at least to me, somewhat challenging, especially since I don’t have quite enough reglets. Take your time!
- Put a fresh sheet of tympan paper on the platen. Behind it, put a sheet of press board (if you have it; I confess that I use sturdy, thick cardstock), and perhaps one sheet of paper for packing.
- Ink up the press.
- You will need a 13/16″ wrench. I tried 3/4″ at first but there was some slippage.
- Take an impression. Note which “M”s print darker and lighter. Your goal is to adjust the platen until you get a) all four “M”s evenly printed, and b) You get just a slight “kiss” impression. If you don’t get an image at all, you’ll be needing to adjust the platen to move it closer to the type.
- Loosen the four set bolts on the platen until they are “out of the way.” Note that adjusting these bolts doesn’t do anything to the platen. It just makes it so you can adjust the platen.
- To adjust the four points of the platen, you’ll need to adjust the second set of bolts nearer to the platen itself. To move the platen closer/darken the impression/tighten, you’ll want to adjust the bolt to the right. The opposite is achieved by adjusting to the left. It’s much like tightening and loosening a regular screw.
- Adjust the bolt(s) a maximum of about a quarter turn at a time. Small adjustments make big changes. Keep taking impressions to see how things are progressing.
- Be ready to be patient. Sometimes you’ll adjust one bolt just to have it screw up what is printing in the opposite corner. Try to relax and take your time. Don’t do this project if you are in a rush or stressed out.
- Once you are happy with the results, tighten the set bolts again.
- Repeat this process about once every six months to a year.
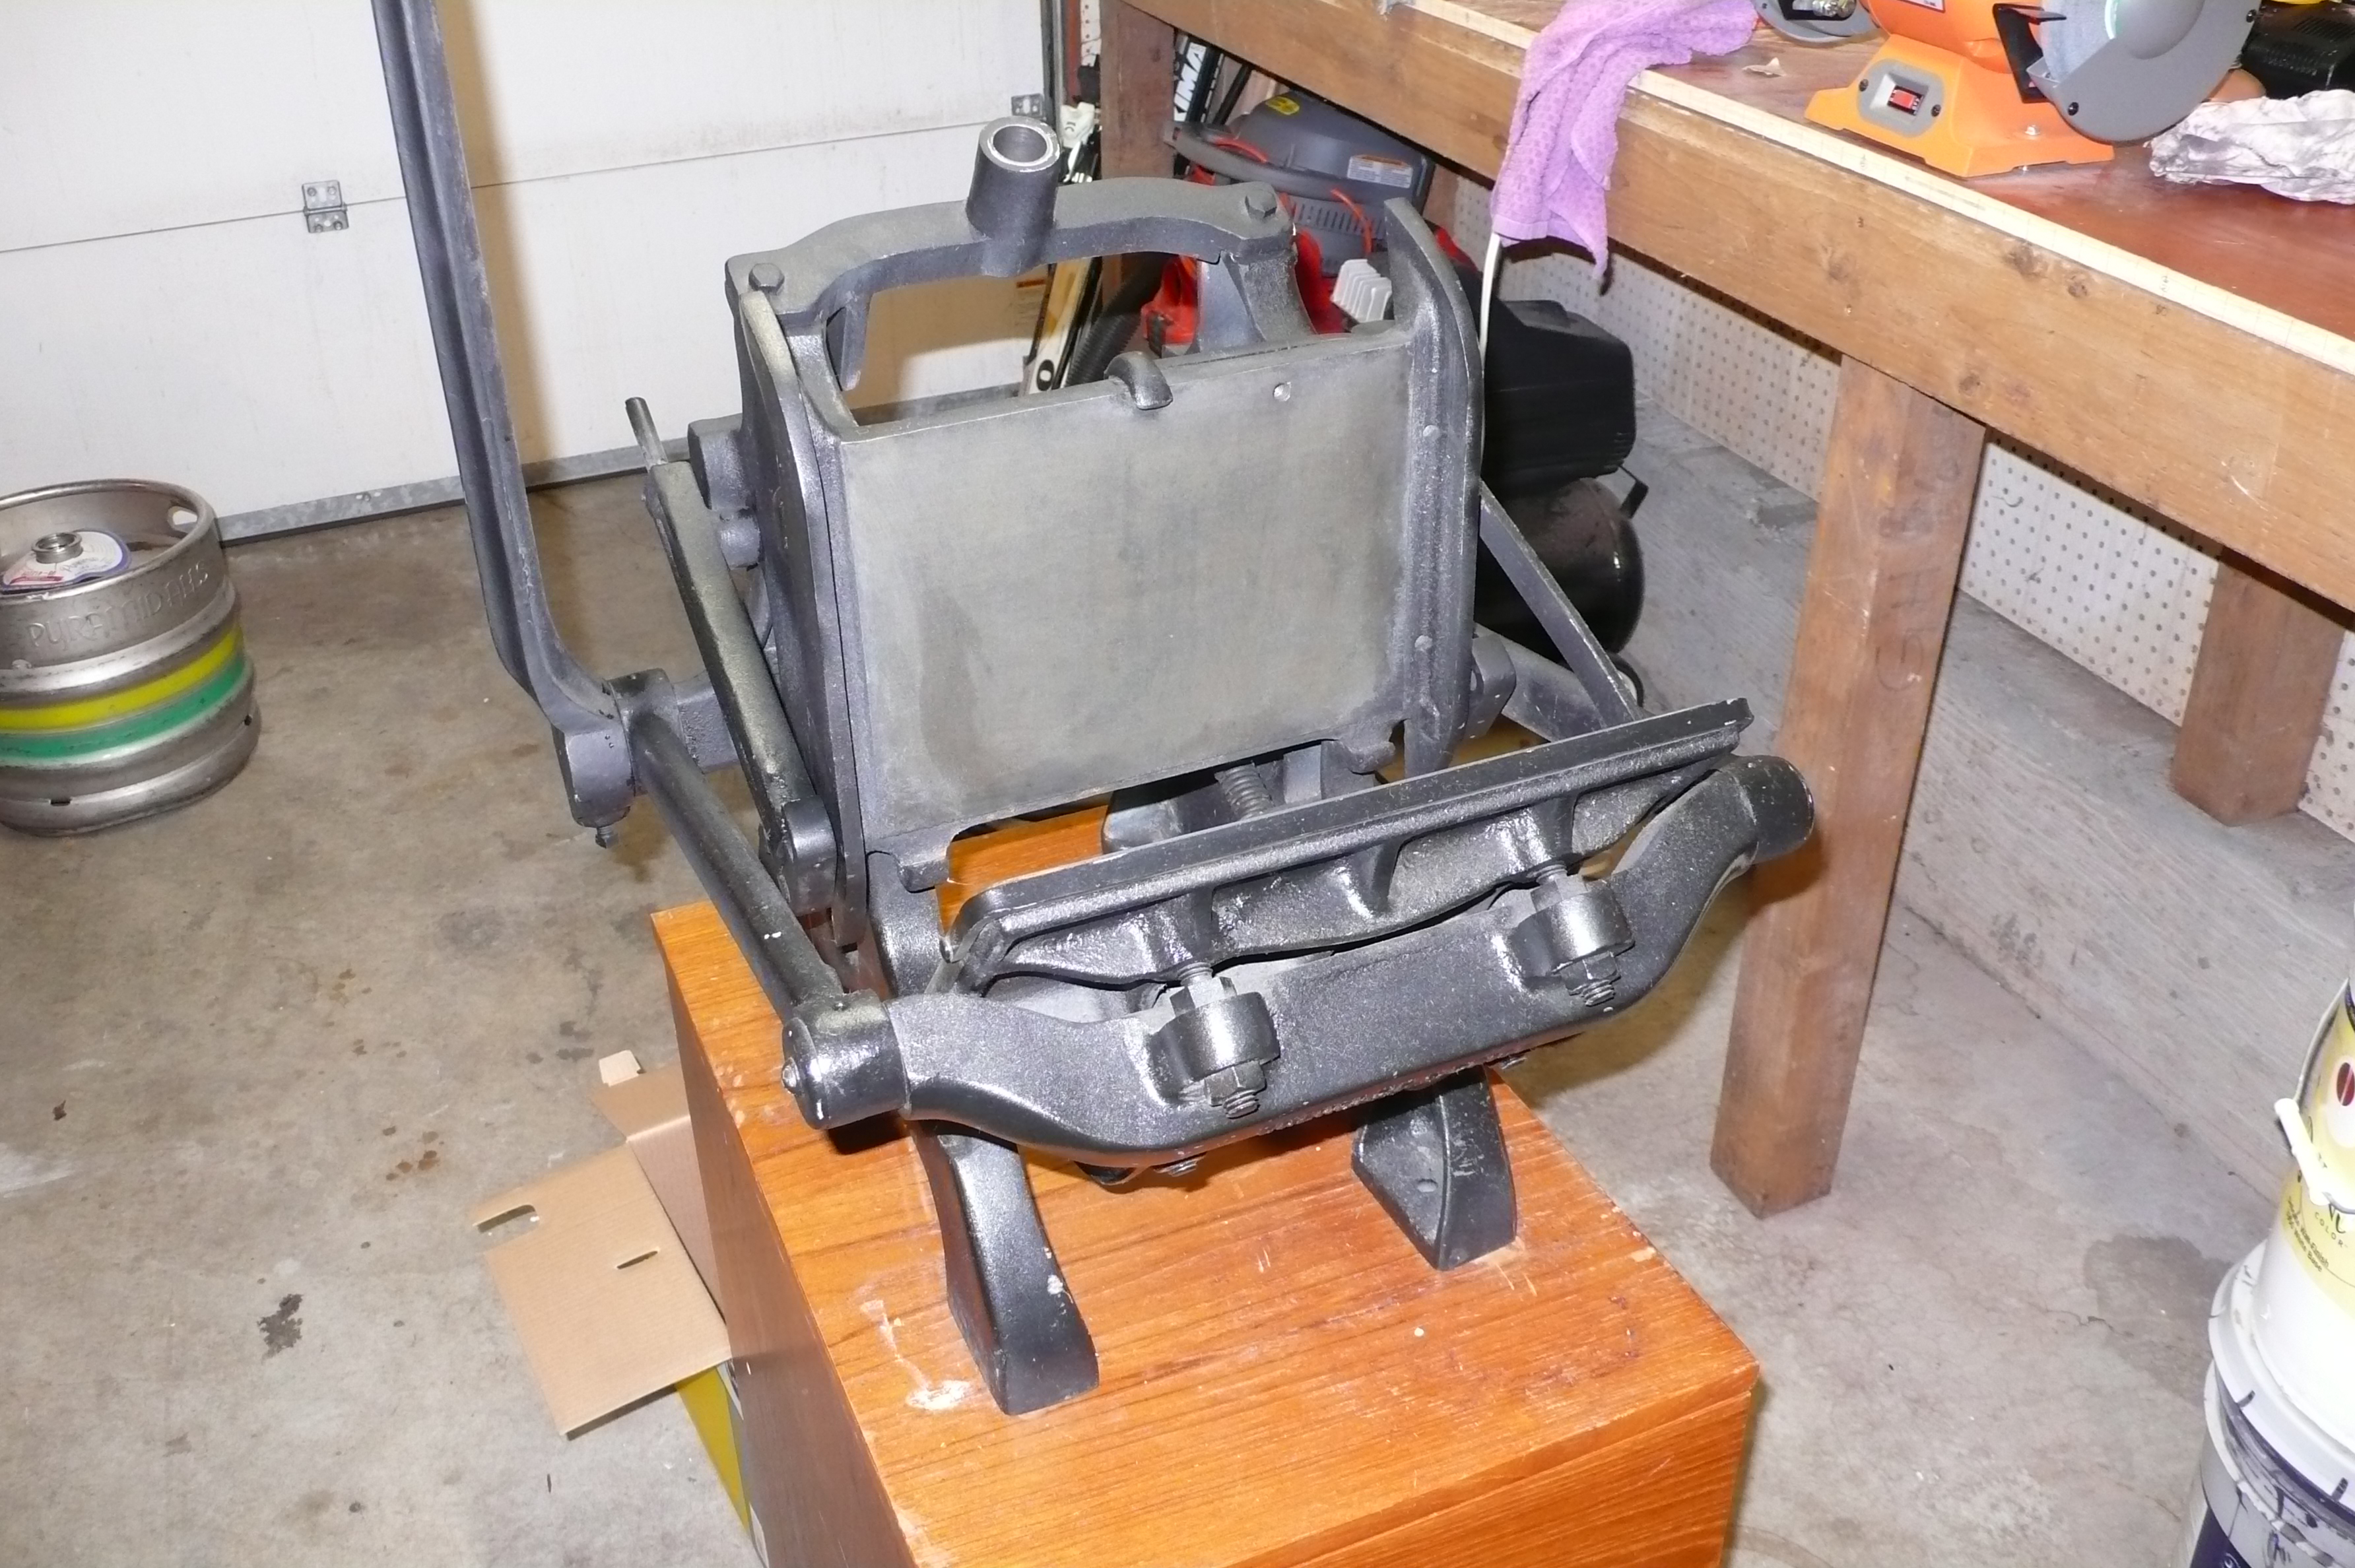
You can see the two top platen bolts near the bottom of this photo. There are two sets of bolts (so, eight total). The outside bolts are set bolts and don't adjust the platen. The inside bolts do the actual adjustments.
Related Posts
- Letterpress: Huge Leaps
August 26, 2008 - Letterpress: Setting Up Shop — A Project
August 22, 2008 - Letterpress: Business / Personal / Calling cards
February 1, 2010 - Letterpress: Virgil Project, More Details
September 30, 2008 - Letterpress
May 7, 2008